
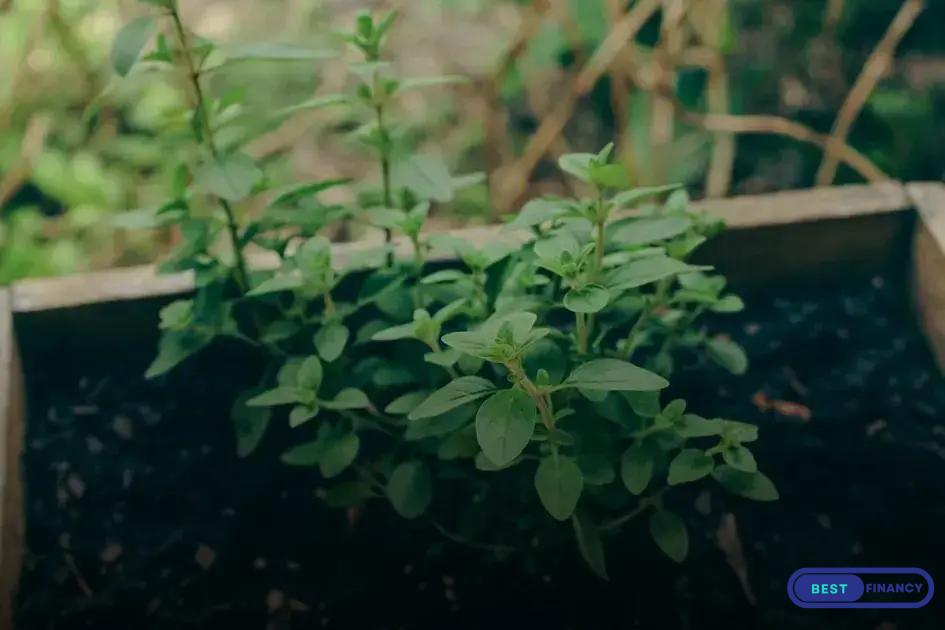
Are you looking to maximize your available space while adding a touch of nature? DIY Hanging Gardens offer an attractive solution. These vertical gardens not only save space but also enhance the aesthetics of your living environment. Discover the benefits, learn what plants work best, and find a simple guide to creating your own hanging garden.
Benefits of DIY Hanging Gardens
One of the main advantages of creating a DIY hanging garden is the efficient use of space. Whether you have a small apartment or a cozy outdoor area, hanging gardens allow you to maximize your greenery without taking up valuable ground space.
Cost-Effective Gardening
is another significant benefit. DIY projects often reduce expenses since they allow you to choose affordable materials and reuse existing items. These gardens can also enhance air quality, as plants are natural purifiers. In addition to air improvement, hanging gardens boost your mental well-being by offering a peaceful and green atmosphere. Engaging in gardening activities has been shown to reduce stress and promote relaxation. Lastly, these gardens increase the aesthetic appeal of any space. They offer a unique vertical design that adds visual interest and brings nature closer to your everyday life.
Choosing the Right Plants
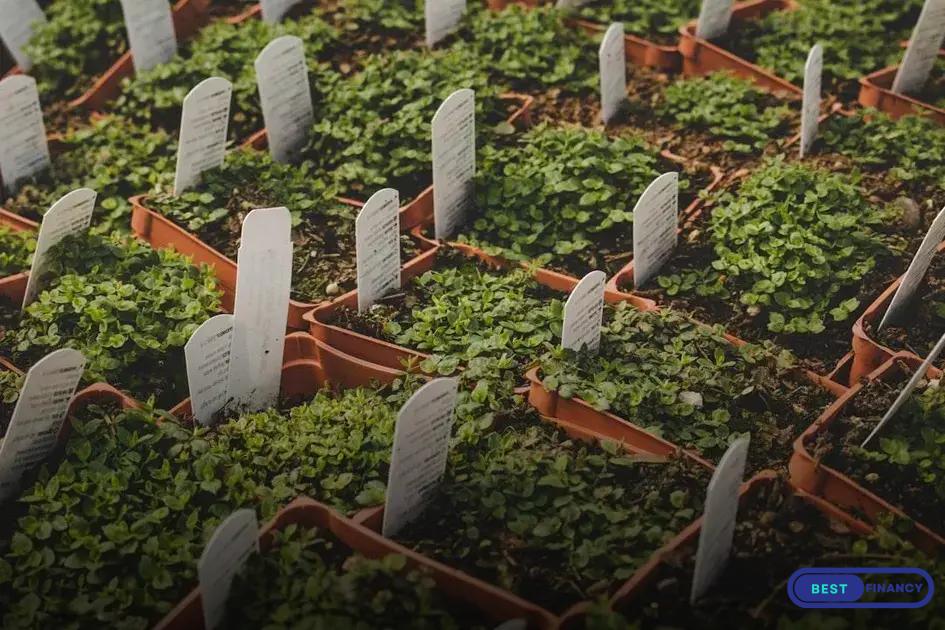
When creating a DIY hanging garden, selecting the right plants is essential for ensuring the success of your project. Consider the conditions of the area where you plan to hang your garden. Most hanging gardens will thrive with plants that enjoy partial to full sunlight. Succulents and ferns are popular choices, as they require less water and can adapt well to varying light conditions.
If you want colorful blooms, consider options like petunias, geraniums, or lobelia. These plants provide a splash of color while being suitable for hanging environments. For a more aromatic garden, try using herbs such as basil, mint, or thyme. Not only are these useful in your kitchen, but they can also deter certain pests, helping maintain the health of your garden.
Remember to check the water needs of each plant. Some might thrive with regular watering, while others prefer dry conditions. Combining plants with similar watering requirements will make maintenance easier and prevent over or under-watering. Additionally, consider the weight of the plants and pots, as a hanging garden fixture must be able to support them securely.
Tools and Materials Needed
- Hanging Planters: Choose sturdy and spacious planters made of materials like ceramic, plastic, or metal. Ensure they have drainage holes.
- Potting Soil: Use a lightweight and nutrient-rich potting mix suitable for the plants you choose. Avoid garden soil as it’s too heavy.
- Plants: Select plants that are suitable for hanging. Options include spider plants, ferns, and herbs.
- Hooks and Chains: Use strong, reliable hooks and chains to securely hang your planters. They should support the weight of the plant and soil.
- Scissors: Have a good pair of scissors or pruning shears to trim plants and cut ropes or strings.
- S-hooks or Ceiling Hooks: These are essential for attaching your hanging planters to the desired location, whether indoors or outdoors.
- Watering Can: Choose a watering can with a long spout for easy watering without splashing the soil.
- Gloves: Protect your hands while handling plants and soil by using gardening gloves.
- Ruler or Measuring Tape: Measure the distances between your hanging gardens to ensure even spacing and a balanced look.
Creating a DIY hanging garden is a rewarding project. Ensure you have all these tools and materials to make it successful and enjoyable.
Step-by-Step Guide to Creating a Hanging Garden
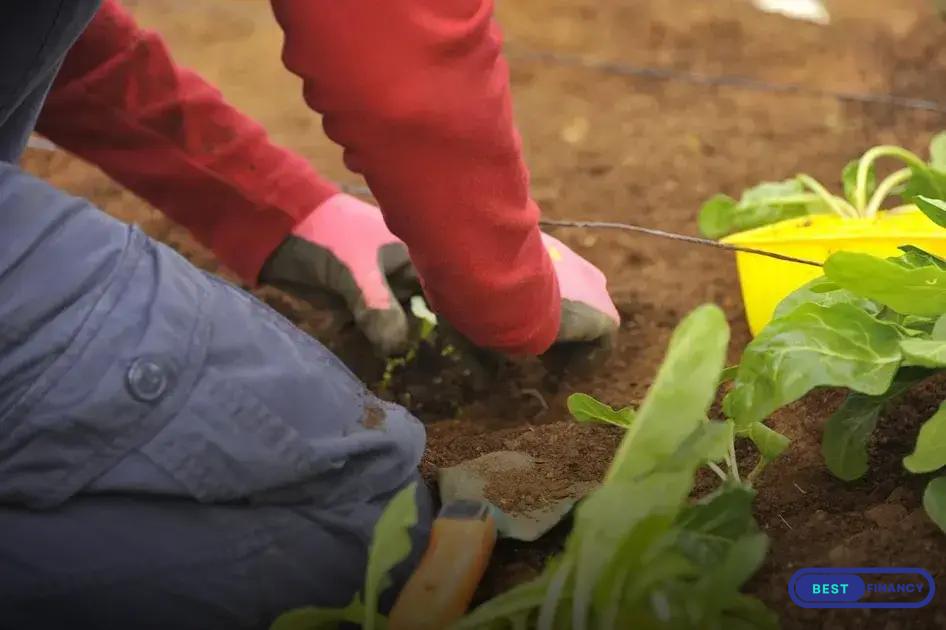
- Choose a Location: Decide where you want to hang your garden. Consider areas with plenty of natural light and easy access for watering. It might be a sunny wall or near a window.
- Gather Tools and Materials: Ensure you have all necessary materials like hooks, brackets, twine, or chains, and tools such as a drill, scissors, and a measuring tape. This will make your process seamless.
- Prepare the Containers: Use containers that suit the plants you have chosen. Make sure they have proper drainage holes. You can use buckets, pots, or even recycled containers like plastic bottles.
- Assemble Your Hanging System: Depending on your space, you might need to install brackets on a wall or ceiling. Use strong, durable materials to support the weight of the plants and soil.
- Plant Your Greenery: Fill your containers with potting soil and plant your selected greenery. Ensure each plant has enough space to grow by following the plant spacing guidelines.
- Hang the Containers: Carefully hang your containers on the hooks or brackets, making sure they are secure and evenly spaced.
- Water and Care: Water your plants regularly. Since they are hanging, they can dry out faster. Consider adding a layer of mulch to retain moisture. Rotate plants occasionally to ensure even exposure to light.
Maintenance Tips for Your Hanging Gardens
Regular watering is crucial for the health of your hanging gardens. Check the soil moistness regularly, and water thoroughly when it feels dry about an inch below the surface. Since these planters are above ground, they tend to dry out faster than traditional garden beds.
Ensure your plants receive adequate light. Most hanging gardens need at least 6 hours of sunlight each day, depending on the plants you’ve chosen. Consider moving the planters seasonally to accommodate changes in sunlight.
Fertilization is essential for growth, especially in a limited soil environment. Use a balanced liquid fertilizer every few weeks to replenish nutrients.
Pruning
is necessary to maintain shape and promote healthy growth. Remove dead or unhealthy leaves regularly and trim back overgrown plants to prevent overcrowding.
Check for pests such as aphids or spider mites. If noticed, treat immediately using natural remedies or appropriate pesticides to prevent extensive damage.
Rotate your plants occasionally to ensure even growth, particularly if they’re hanging in a singular light source. This simple action helps all sides of the plant receive equal sun exposure.
Inspect the condition of your hanging apparatus. Ensure hooks and supports remain strong and secure to avoid accidents or damages.
By maintaining these simple routines, your DIY hanging gardens will not only thrive but also enhance your space beautifully.

 Hosting a Garden Party: Decorate Naturally with Ease
  Outdoor Lighting Ideas to Highlight Your Garden at Night
  Incorporating Water Features: Transform Your Garden Oasis